
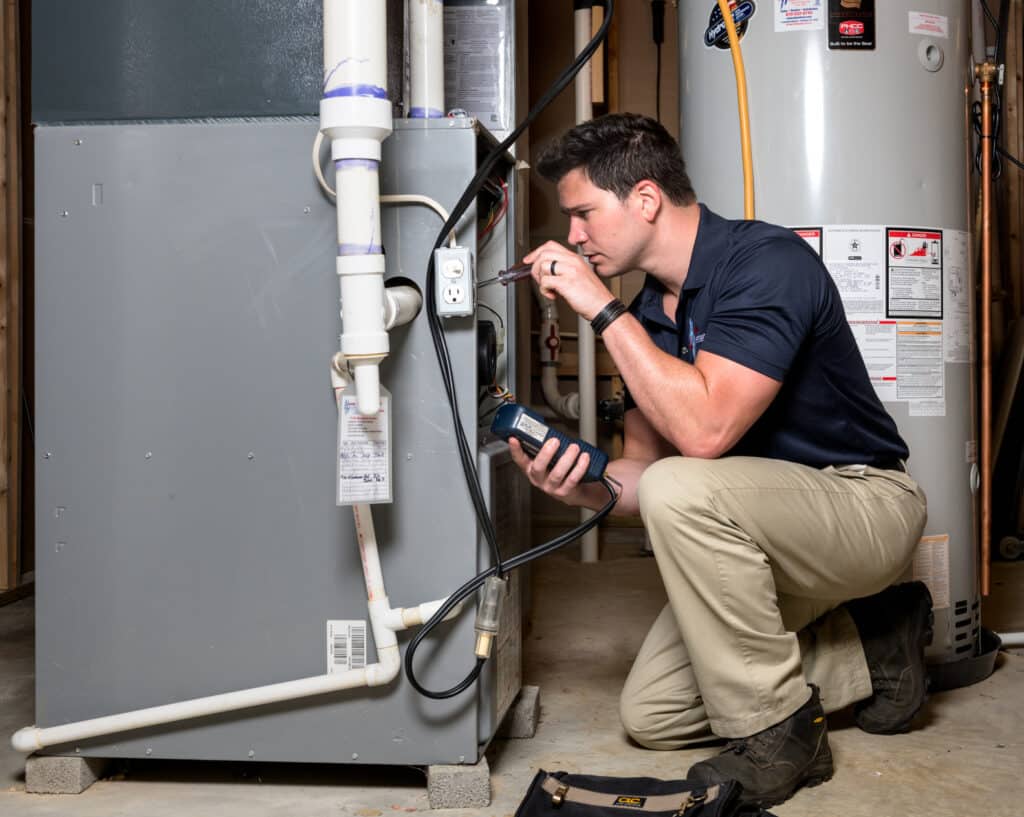


Do I Need Air Conditioner Maintenance?
Introduction
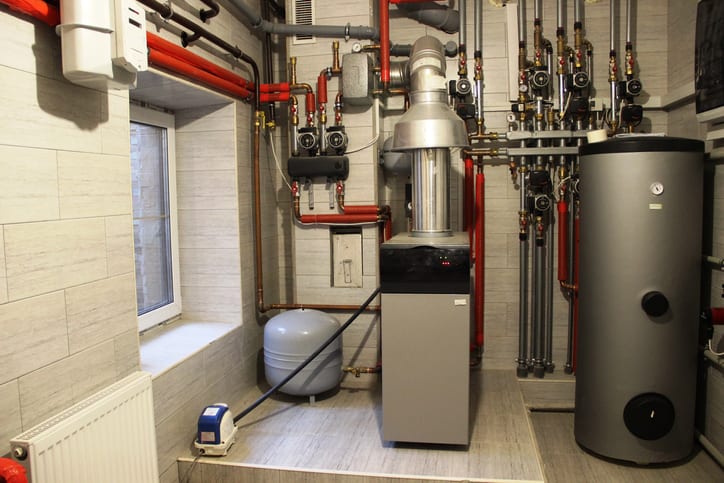
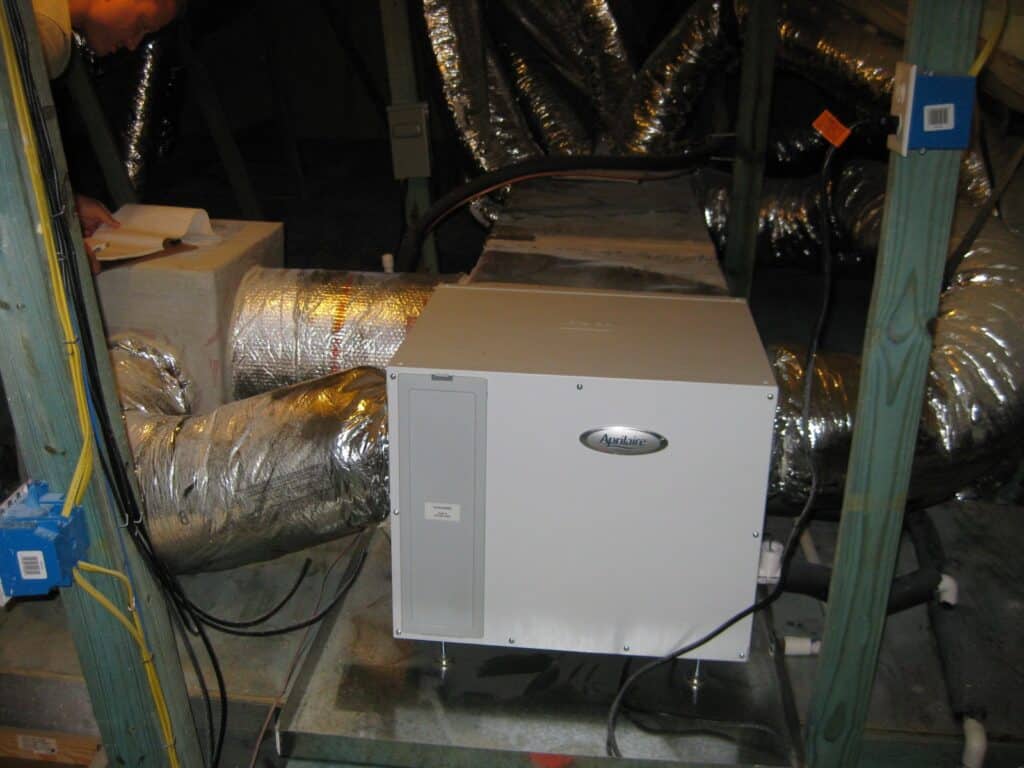
At Champion Services, we understand the importance of saving money and energy when it comes to operating your whole-home dehumidifier. A dehumidifier is an appliance that reduces and maintains the level of humidity in a room or area. It removes moisture from the air, making it more comfortable for occupants and reducing the risk of mold and other allergens from forming.
There are many benefits to using a whole-home dehumidifier, including improved air quality, better indoor climate control, and reduced energy costs. In this blog post, we will provide four tips for operating your whole-home dehumidifier so you can save money and energy while keeping your home comfortable all year round.
Change the Air Filter Regularly
The first tip for operating your whole-home dehumidifier is to change the air filter regularly. The air filter in a dehumidifier is responsible for trapping dust, dirt, and other airborne particles that can be harmful to your health. By changing the air filter regularly, you can ensure that your air quality is kept clean and free of pollutants.
Reasons to Change the Air Filter Regularly
There are several reasons why it is important to change the air filter regularly in your whole-home dehumidifier. First, a dirty air filter will reduce the efficiency of your unit, leading to higher energy costs and reduced performance. Additionally, a dirty air filter will cause more allergens and pollutants to circulate through your home, making it harder for those with allergies or asthma to breathe properly. Finally, a dirty air filter can lead to clogged coils and other parts within the unit which can lead to costly repairs or even replacement of the entire unit.
How Often to Change the Air Filter
It is recommended that you change the air filter in your whole-home dehumidifier every three months or as needed based on how often you use it. If you live in an area with high levels of dust or pollen, then you may need to change it more often than every three months. You should also check your owner’s manual for specific recommendations on how often you should change the air filter in your unit.
Cost Savings from Changing the Air Filter Regularly
By changing the air filter regularly in your whole-home dehumidifier, you can save money on energy costs and repair bills due to increased efficiency and reduced wear and tear on parts within the unit. Additionally, by keeping your air clean and free of allergens and pollutants, you can improve indoor air quality which can have positive health benefits for everyone living in your home.
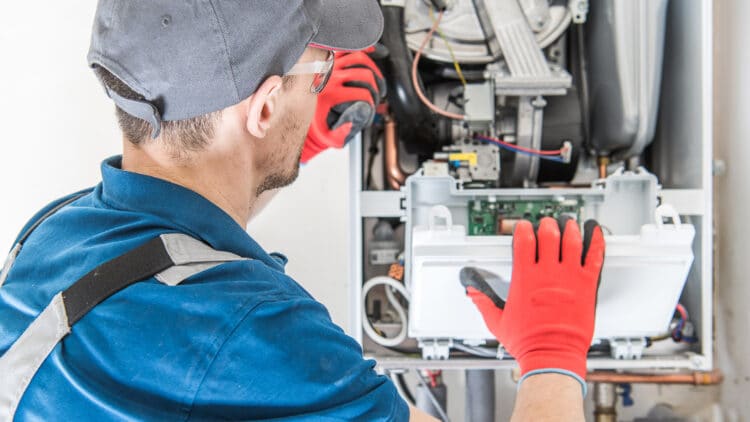
Clean and Maintain the Unit
Cleaning and maintaining your whole-home dehumidifier is an important part of ensuring that it runs efficiently and effectively. Regular maintenance can help to reduce energy costs, improve air quality, and extend the life of the unit. Here are some reasons why you should clean and maintain your dehumidifier, as well as steps for doing so.
Reasons to Clean and Maintain the Unit
Regular cleaning and maintenance of your dehumidifier is essential for keeping it running at peak efficiency. Dust, dirt, pet hair, mold spores, and other debris can accumulate in the filter over time, reducing air flow and making the unit work harder than necessary to remove moisture from the air. This can lead to higher energy bills and decreased air quality in your home. Additionally, if not regularly maintained, a dehumidifier can become clogged with debris or develop mechanical issues that require costly repairs or replacement parts.
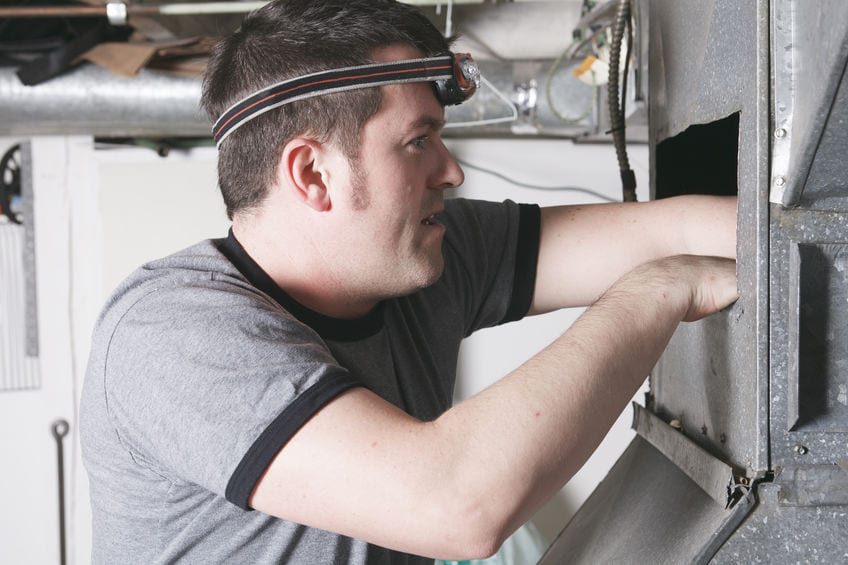
Steps for Cleaning and Maintaining the Unit
Cleaning and maintaining your dehumidifier is relatively simple but should be done on a regular basis. Start by unplugging the unit from its power source before removing any panels or covers that provide access to internal components such as filters or condenser coils. Vacuum out any visible dust or debris using a soft brush attachment, then wipe down all surfaces with a damp cloth to remove any remaining dirt or grime. Replace any damaged parts such as filters or fan blades, then reassemble the unit before plugging it back into its power source.
It’s also important to check the condensate pan for signs of buildup or corrosion every few months; if necessary, clean it out with warm water and a mild detergent before allowing it to dry completely before reinstalling it in the unit. Additionally, inspect hoses for signs of wear or damage on a regular basis; replace any damaged hoses right away in order to avoid further damage to other components of your dehumidifier.
Cost Savings from Cleaning and Maintaining the Unit
Regularly cleaning and maintaining your dehumidifier can help you save money on energy bills in two ways: firstly by improving air flow through the unit which helps it run more efficiently; secondly by preventing mechanical issues caused by clogs or buildup which could otherwise require costly repairs or replacements parts down the line. Additionally, regular maintenance helps extend the life of your dehumidifier so you won’t have to replace it prematurely due to neglectful care.
Set an Appropriate Humidity Level
An appropriate humidity level is essential for the efficient operation of a whole-home dehumidifier. Setting the correct humidity level can help to reduce energy consumption, save money on utility bills, and improve indoor air quality.
Reasons to Set an Appropriate Humidity Level
The primary reason to set an appropriate humidity level is to ensure that the dehumidifier operates efficiently. If the humidity level is too low, the dehumidifier will have to work harder in order to remove moisture from the air, resulting in higher energy costs and increased wear and tear on the unit. On the other hand, if the humidity level is too high, it can cause mold and mildew growth which can lead to health problems and damage to your home.
In addition, setting an appropriate humidity level can help you maintain a comfortable indoor climate by preventing condensation on walls and windows. This can also help reduce dust mite infestations which are known triggers for allergies and asthma.
Steps for Setting an Appropriate Humidity Level
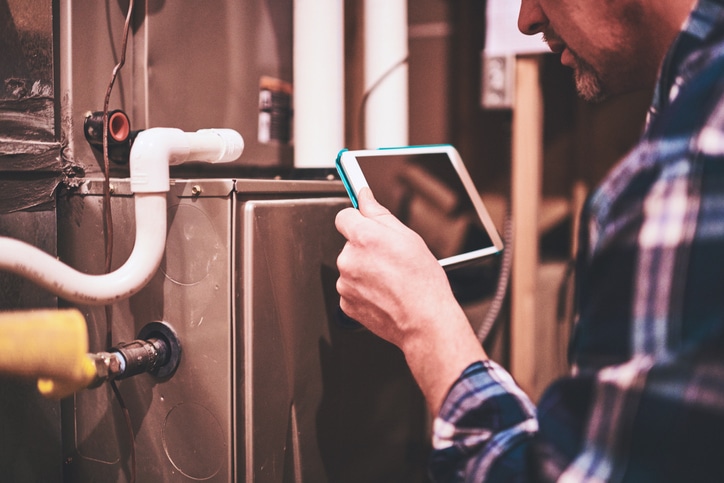
To set an appropriate humidity level for your whole-home dehumidifier, you should first measure the relative humidity in your home with a hygrometer or other device designed for this purpose. The ideal range for most homes is between 30% and 50%. Once you have determined the current relative humidity in your home, you can adjust the settings on your dehumidifier accordingly. Most units have a built-in humidistat that allows you to easily set the desired humidity level.
If you don’t have a built-in humidistat, you may need to purchase one separately or install a smart thermostat with integrated humidity control features. You should also check your dehumidifier’s user manual for any specific instructions regarding how to adjust its settings correctly.
Cost Savings from Setting an Appropriate Humidity Level
Setting an appropriate humidity level with your whole-home dehumidifier can result in significant cost savings over time by reducing energy consumption and wear and tear on the unit itself. It can also help prevent costly repairs caused by mold or mildew growth due to excessive moisture levels in your home. Finally, maintaining proper indoor air quality through proper humidity control can help reduce medical bills associated with allergies or asthma triggered by dust mites or other airborne allergens that thrive in moist environments.
Use a Programmable Thermostat
A programmable thermostat is an essential tool for controlling the temperature and humidity levels in your home. By using a programmable thermostat, you can set the thermostat to turn on and off at different times throughout the day, allowing you to save energy and money while still maintaining comfortable temperatures. Additionally, using a programmable thermostat gives you more control over the humidity levels in your home, allowing you to set it to maintain a specific level of humidity that is comfortable for you and your family.
Reasons to Use a Programmable Thermostat
Using a programmable thermostat has many advantages when it comes to saving money and energy. For one, it allows you to set the temperature of your home according to your schedule so that it is only running when you need it. This helps reduce energy consumption and save money on electricity bills. Additionally, using a programmable thermostat allows you to maintain more consistent temperatures throughout your home, which can help reduce drafts and save money on heating bills as well. Finally, using a programmable thermostat allows you to easily adjust the humidity levels in your home so that they are always comfortable for you and your family.
Steps for Installing and Using a Programmable Thermostat
Installing a programmable thermostat is relatively easy; most models come with detailed instructions that will walk you through the installation process step-by-step. Once installed, programming the thermostat is also fairly straightforward; most models allow you to input specific times of day when the temperature should be adjusted as well as what temperature should be maintained during those times. Additionally, some models also have options for setting different temperatures during different days of the week or even different seasons of the year.
Cost Savings from Using a Programmable Thermostat
Using a programmable thermostat can lead to significant cost savings over time. By setting specific times for when the temperature should be adjusted or turned off altogether, you can reduce energy consumption and lower your electricity bills significantly. Additionally, by setting specific humidity levels in your home, you can help reduce drafts and lower heating costs as well. In total, using a programmable thermostat can lead to significant cost savings over time while still ensuring that your home remains comfortable all year round.
Conclusion
At Champion Services, we believe in providing our customers with top-notch services at a fair and reasonable price point. We recommend following these four tips for operating your whole-home dehumidifier to save money and energy while also improving the air quality of your home.
The first tip is to change the air filter regularly. This will help keep the unit running efficiently and reduce energy costs. Second, clean and maintain the unit periodically to ensure optimal performance and efficiency. Third, set an appropriate humidity level for more efficient operation. Finally, use a programmable thermostat to further improve energy efficiency.
By following these tips, you can enjoy improved air quality while also reducing your energy bills. If you have any questions or need assistance with operating your whole-home dehumidifier, contact us at Champion Services today!